Hudson, WI—Establishing a solar power system for your RV or van can be an overwhelming task. There is a lot information out there but because of the wide variety of personal considerations—power needs, technical ability, rig size, and budget—it is hard to find consensus and guidance on securing the right set-up to fit your particular situation. I thought I’d share my experience with solar and outline exactly what we currently have and why we love it.
 During our first two years on the road, we were fortunate to have the support of GoalZero, the leading provider of portable solar solutions who makes the most user-friendly systems we have encountered. When our heads were first spinning over the idea of buying batteries, panels, inverters, charge controllers etc. for our 16′ Scamp trailer, we turned to GoalZero who simplified things immensely. We went with two Yeti 400 generators (portable battery/inverter combo) and a single 90 watt panel on the roof of our small trailer. But while the system was easy to use and worked well, it was a bit undersized and we didn’t really have a set-up that truly matched our power needs.
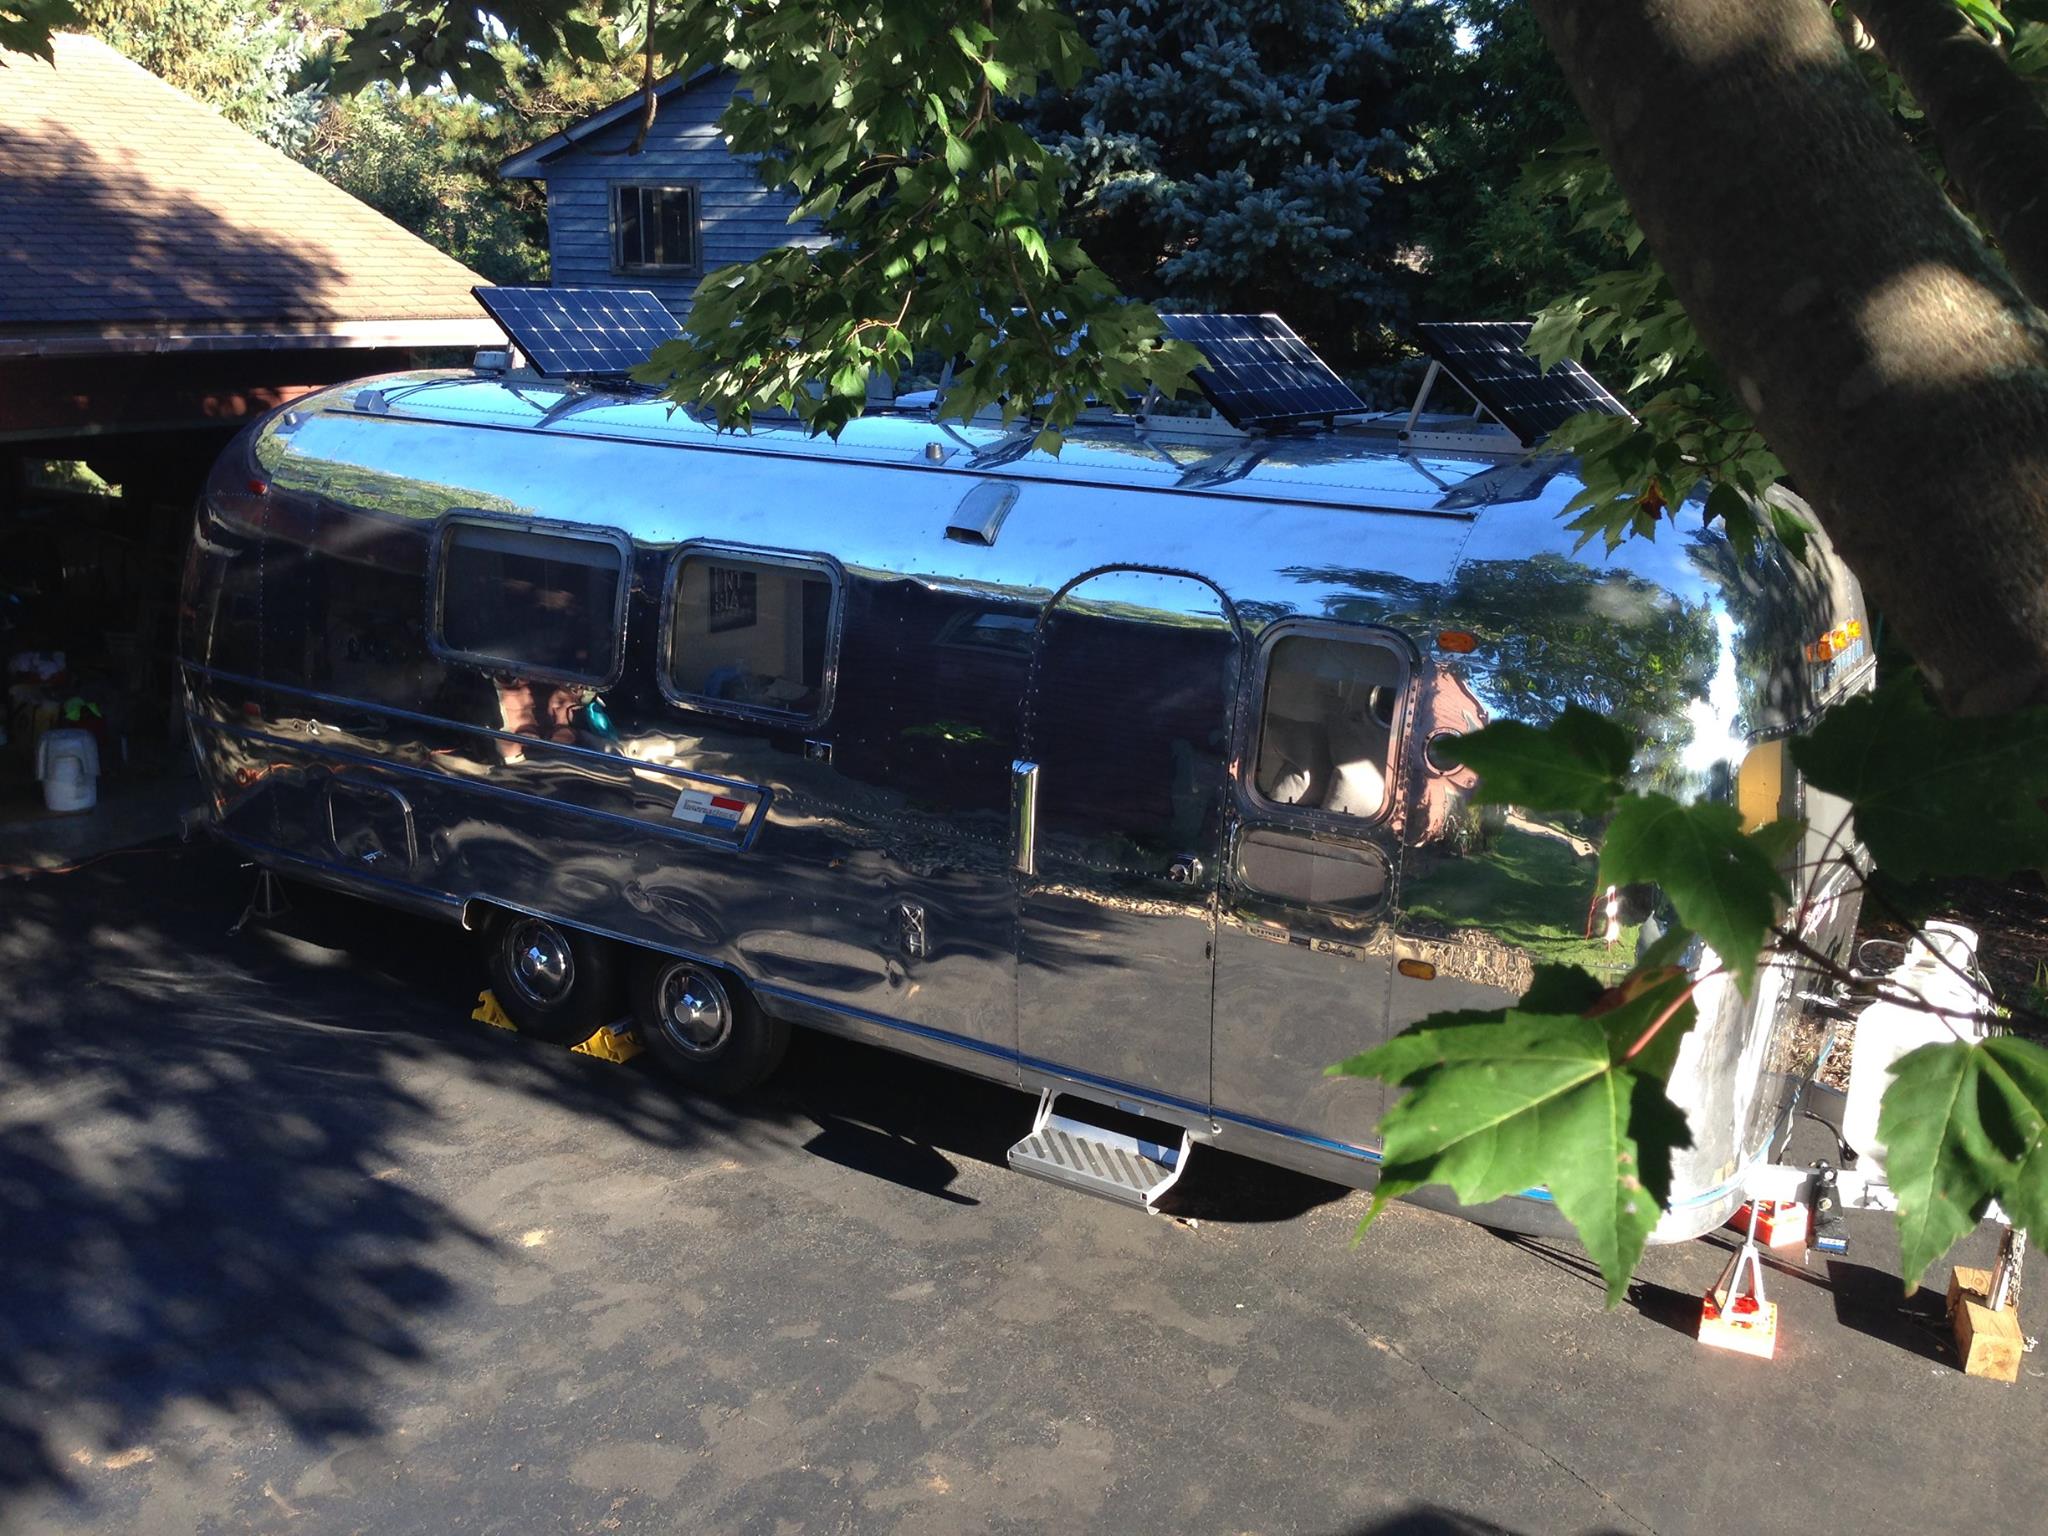
When we decided to upgrade to an Airstream this year, we knew we’d have more space for panels and that this would be our chance to upgrade—get more battery storage and an integrated system that would allow us to seamlessly patch battery power into the trailer’s existing electrical wiring and outlets.
We first heard about Renogy, a California-based renewable energy company, from our good friends and fellow traveling creatives Brandon Fox and Gabi Enos (Just Go Climb and BG Captures). While traveling with Brandon and Gabi over the course of six months, we witnessed first-hand how efficient their system was. While we were often heading to the local cafe for power when our small panel couldn’t keep up, they were still at camp working away. So when we decided to make the leap to an Airstream, we contacted Renogy and they helped guide us to everything we would need.
We love that Renogy supports people like us who work full-time out of an RV, van, or tiny house. The capability to work off-grid allows us to build our non-traditional business and connect with others wherever we decide to travel! We are just now beginning to live and work in the Airstream but so far everything is going great and we have all the power we need. The components are high quality and the customer service and tech support are terrific.
Interested in our set-up? Here it is!
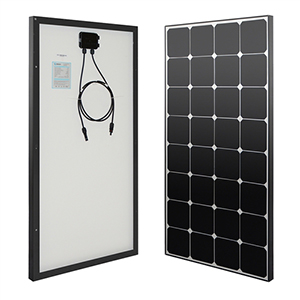
1. Solar panels
(4) Renogy Eclipse 100 Watt 12 Volt Monocrystalline Solar Panels
We went with the Eclipse series panels because they are 6″ smaller than Rengoy’s standard 100W panels and we liked the sleek look. These fit perfectly on our curved roof.
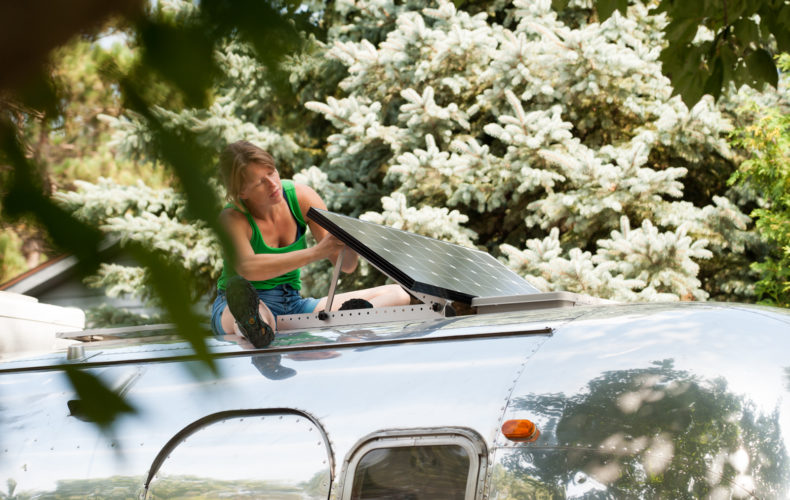
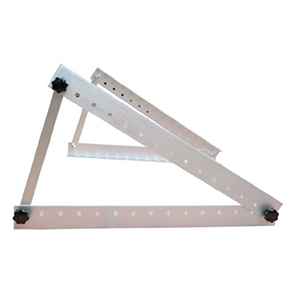 2. Panels are mounted to the roof using aluminum brackets
(4) WindyNation Adjustable Solar Panel Mounting Brackets
To maximize your ability to harness power, you’ll need a tilting mechanism. These are lightweight and you can trim them to size.
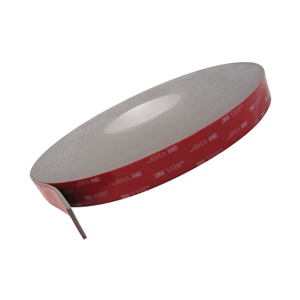 3. Brackets are held in place by VHB Tape
(1) roll 3M VHB Tape 4991
High-strength tape—use this so you don’t have to drill holes in your roof. We’ve traveled more than 30,000 miles with a panel taped to our roof with this materials and we guarantee it sticks!
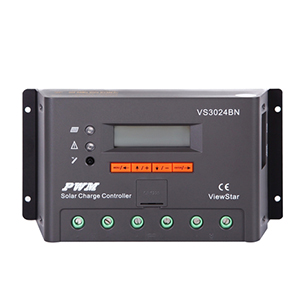
4. Panels connect to a charge controller
(1) Renogy ViewStart 30 Amp PWM Charge Controller
The charge controller safely harnesses the power from your panels and charges your batteries. Also prevents over-charging. Note: 9-12-16 Renogy seems to have discontinued or ran our of stock on these charge controllers. Looks like an equivalent option would be this one…
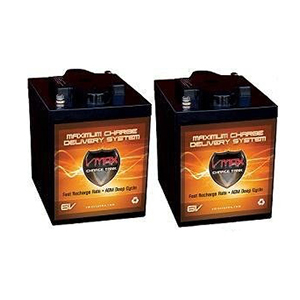
5. Charge controller connects to battery/batteries
(2) VMAXTANKS 6 Volt 225Ah AGM Battery: High Capacity & Maintenance Free Deep Cycle Battery
We have two 6V batteries chained together create a 12V battery bank. You’ll need a couple battery interconnects to join the two if you go this route. You can also purchase one single 12V battery but we went with two 6V because apparently it helps extend battery life.
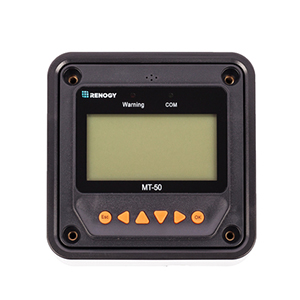 6. (Optional) Charge controller also connects to a remote meter
(1) MT-50 Remote Control Tracer Meter
If your charge controller is in a difficult to see spot, it’s nice to have the tracer meter so you can keep an eye on your system. This item is optional but we are very glad to have it. Note: 9-12-16 Renogy seems to have discontinued or ran our of stock on these. Please check with them for equivalent.
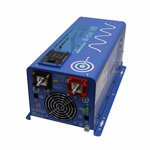 7. Batteries connect to an inverter charger
(1) AIMS Power 2000 Watt 12V Pure Sine Inverter Charger
A solar inverter is critical to converting the power from your batteries to usable 110V household power. And if you want to run your blender while charging your computer and watching TV you will need some wattage! We decided not to skimp and went with the 2000 w version that converts the DC battery power to AC and sends it to our outlets but ALSO gives us an option to plug our trailer into an external power source and recharge the batteries without solar.
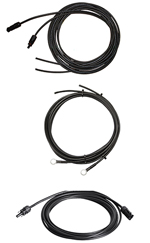
8. You’ll also need some various cables to connect your system together
(1) Adaptor Kit: Connects solar panels to charge controller. These come in different gauges and lengths so you’ll want to consult Renogy on the right size for your system.
(1) Tray Cable set: Connects your battery to your charge controller. Again, length and gauge will vary.
Extension cables: Unless your panels are all very close together, you’ll probably need a couple extension cables to expand distance between them.
If you have any questions about our setup, please email me directly! jess@designegg.org